List Of Blogs > Liferay Kaleo Workflow
Liferay Kaleo Workflow
Umer Farooq
Liferay Kaleo Workflow
Introduction :
A workflow is a series of interconnected steps, task, or actions that are designed to achieve a specific goal or to complete a process.
To create a kaleo workflow follow the below steps :
- Right click on modules, go to New->Other->Liferay Kaleo Workflow
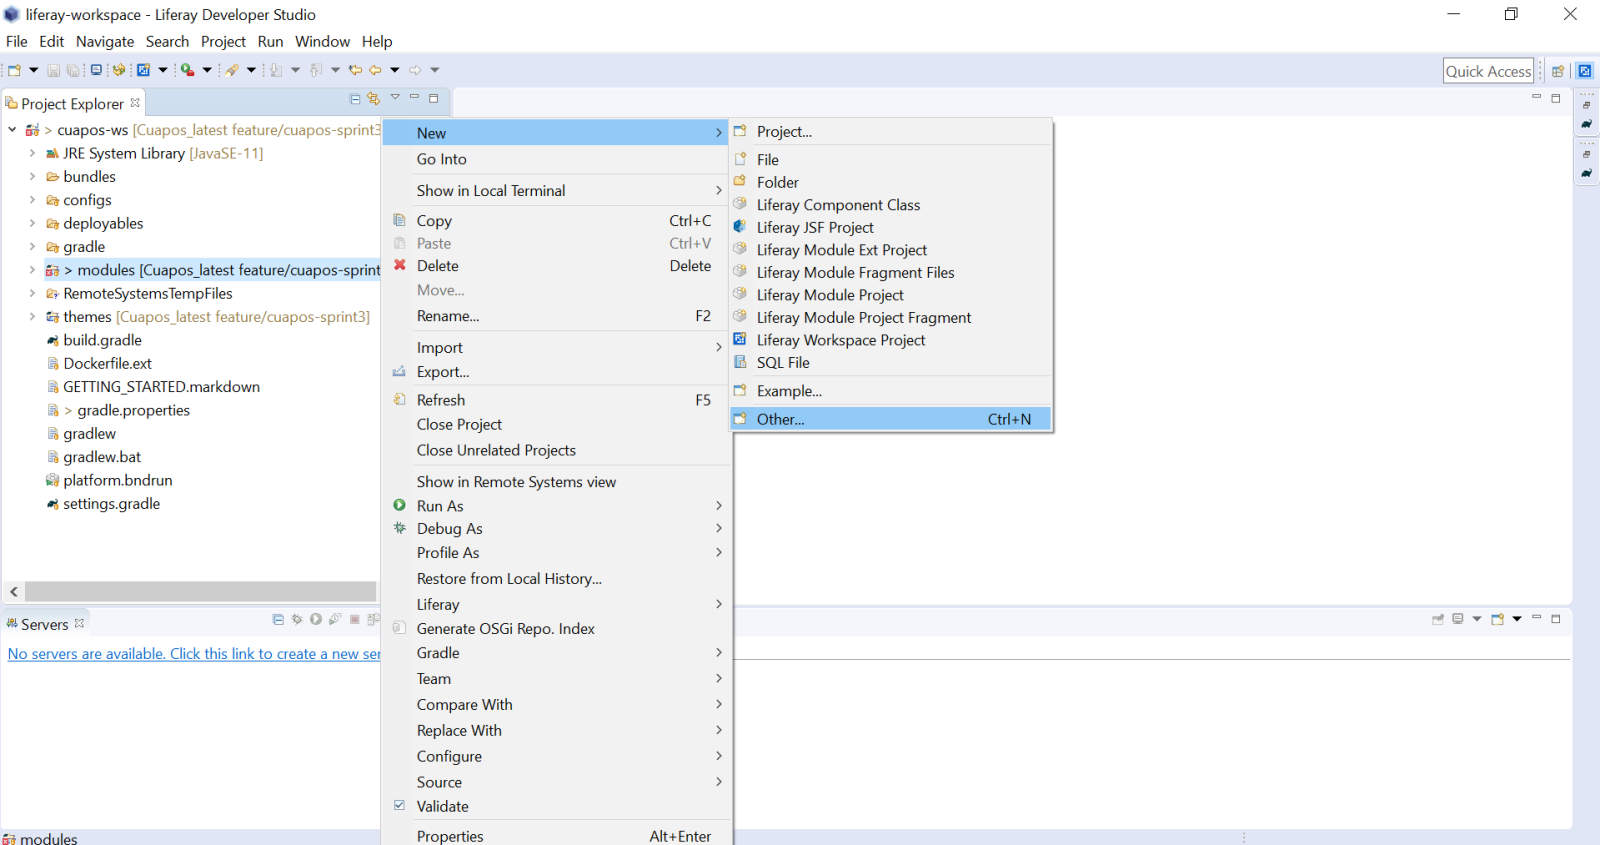
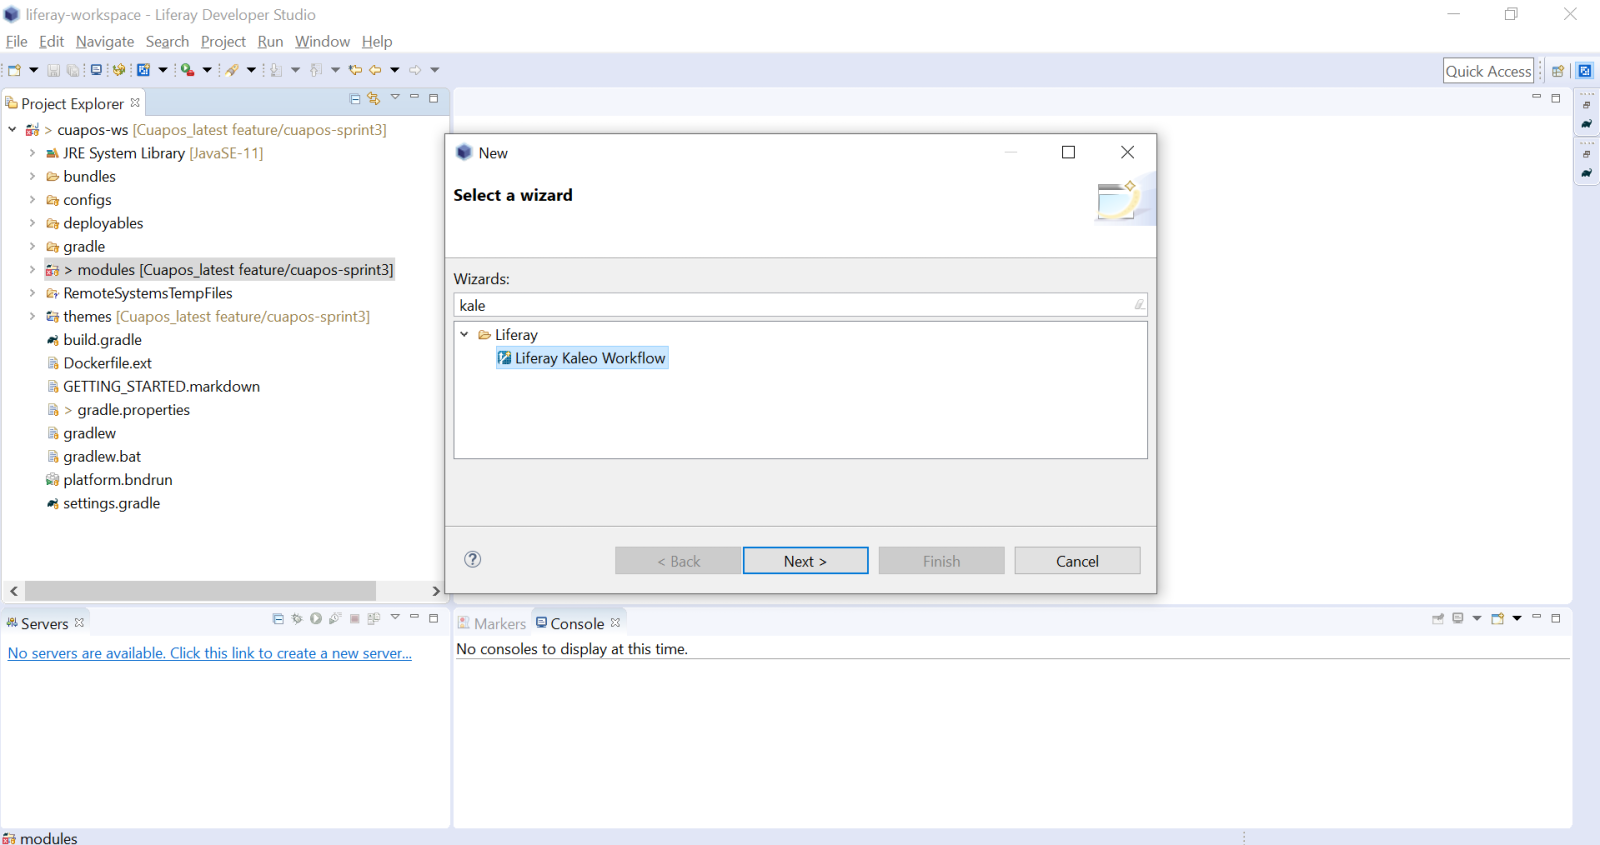
This will create a workflow XML.
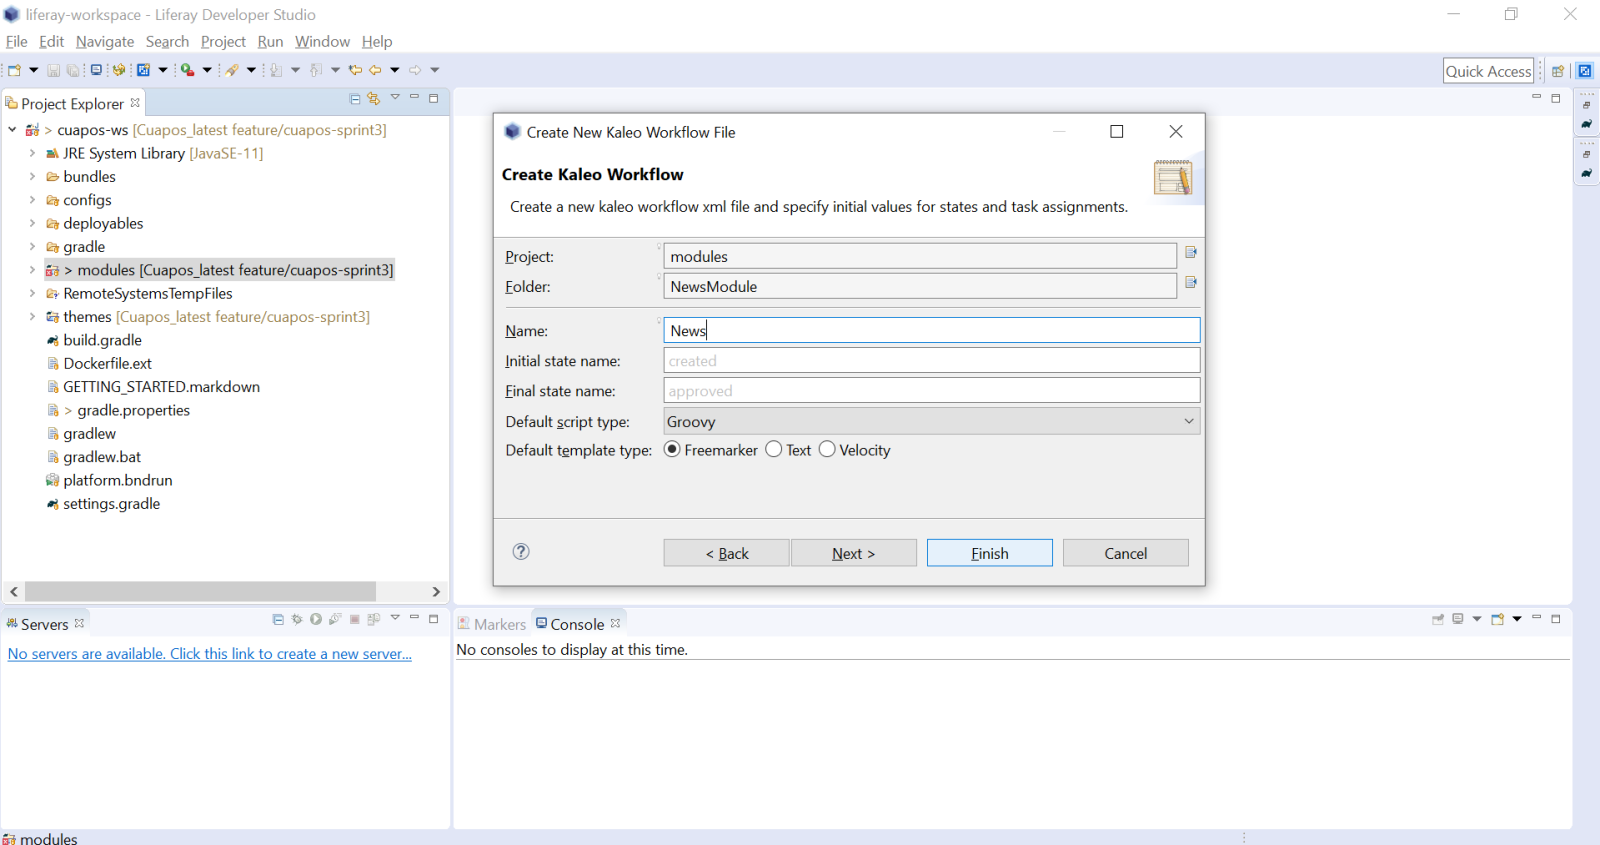
- Fill the fields then click next.
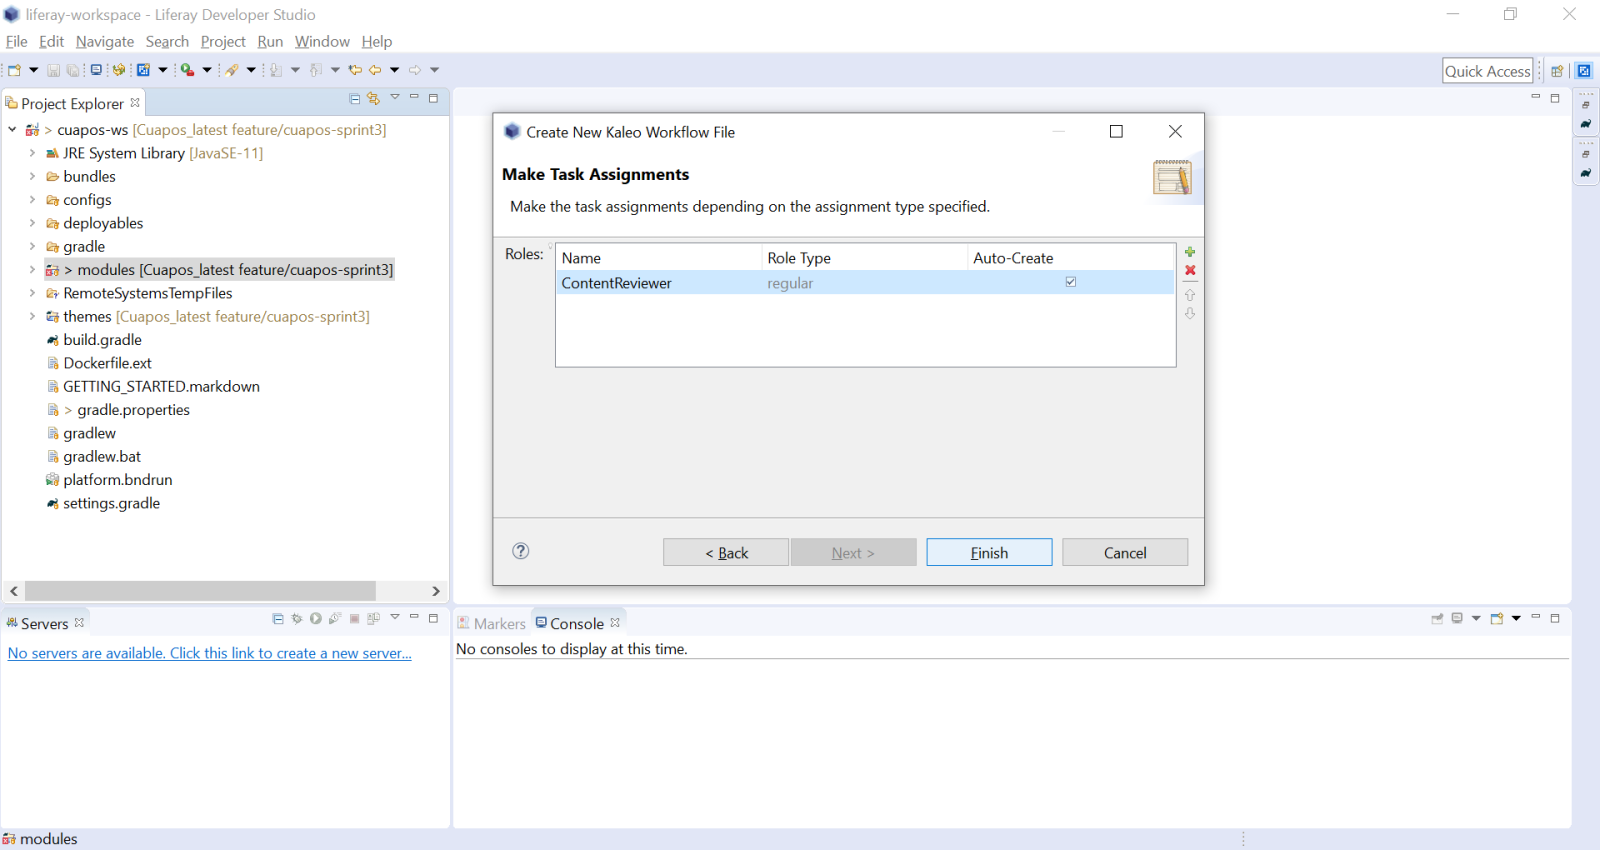
- Select Assign to several role types and click next.

- Create your role and enable Auto-create which creates the role in your portal then click finish.
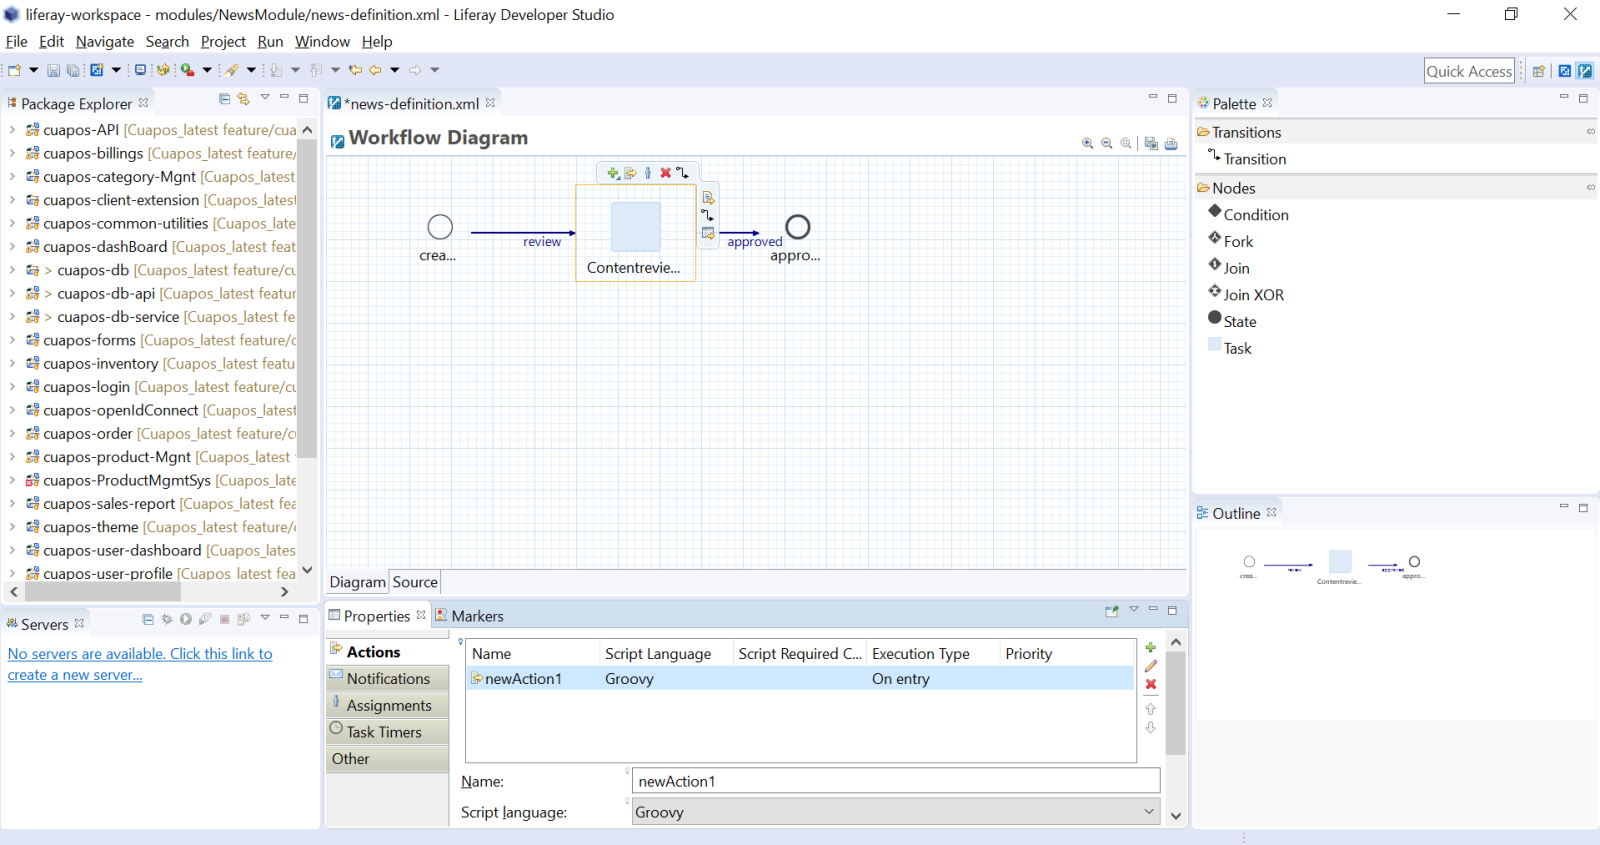
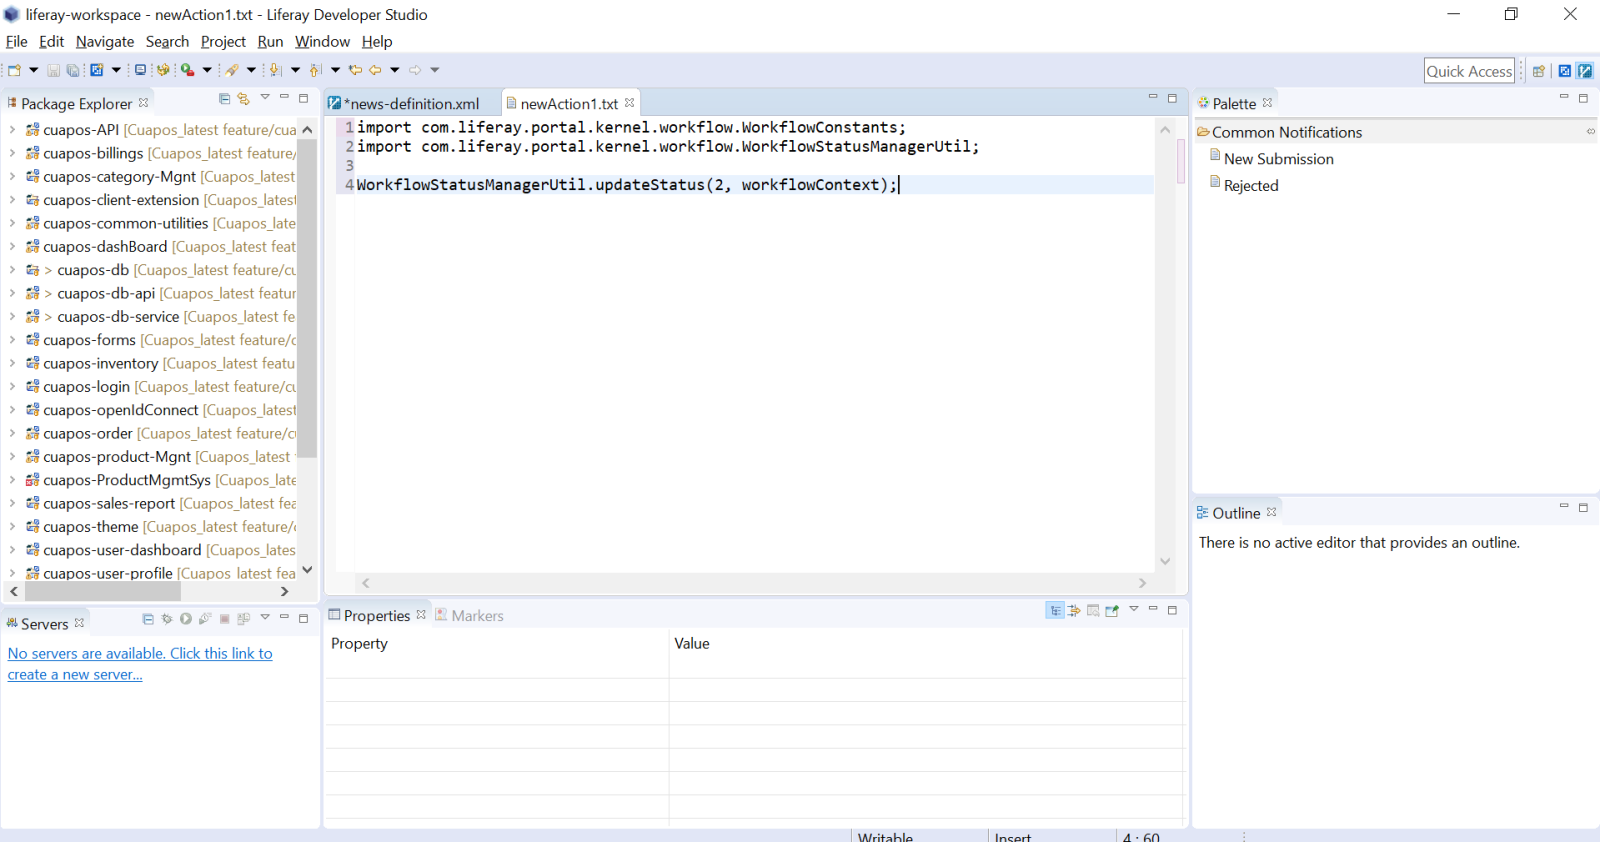
- Click on the task and create new action, make the script language as Groovy and then Add the following code in your action file.
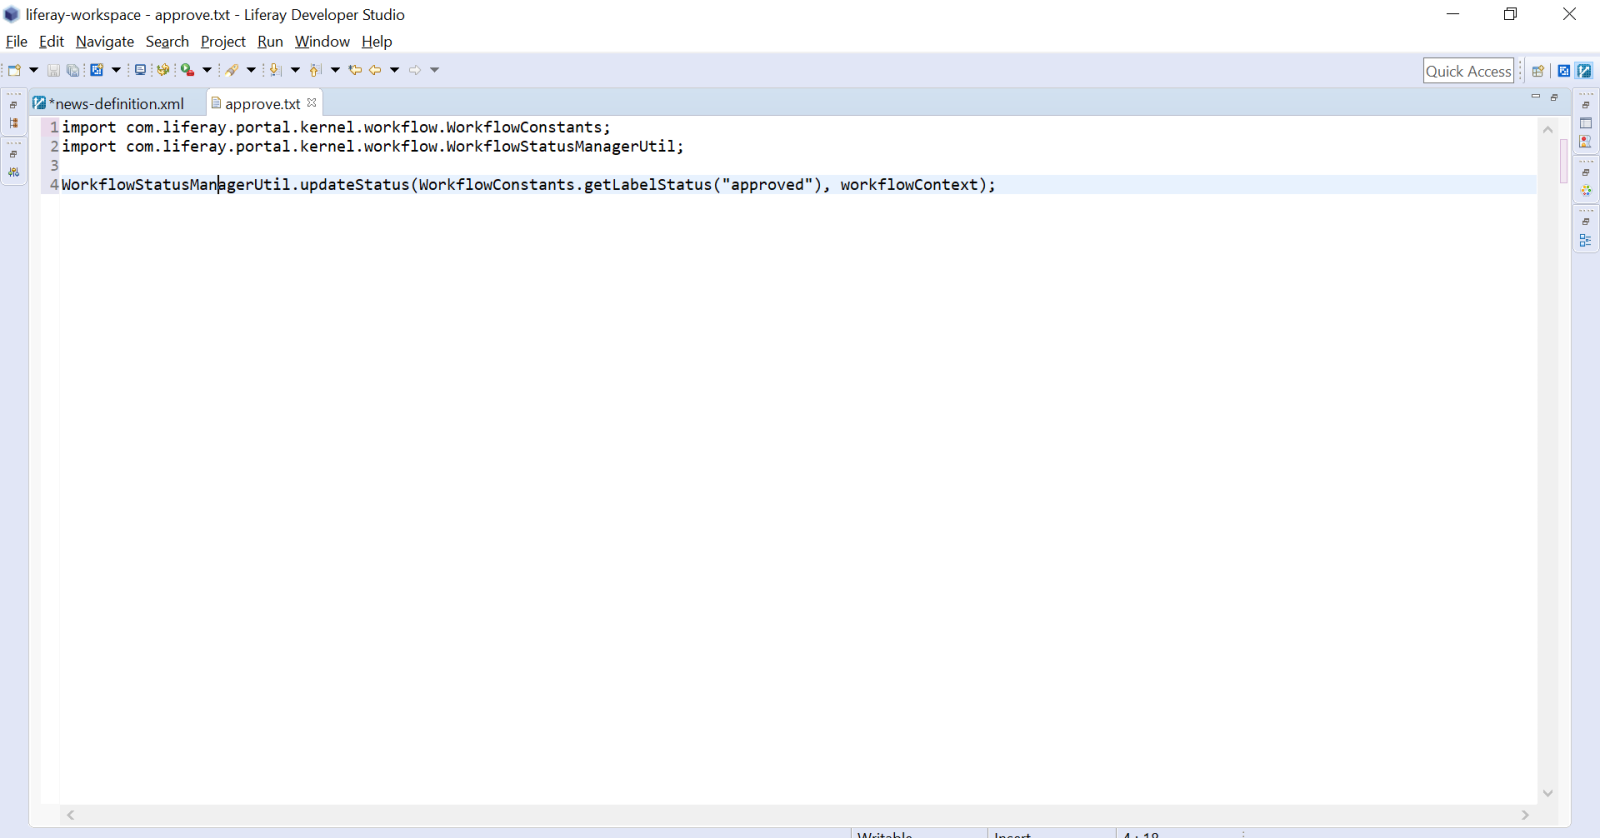
- Now again follow steps 5 for the “approve” state and add the following code into your action file.
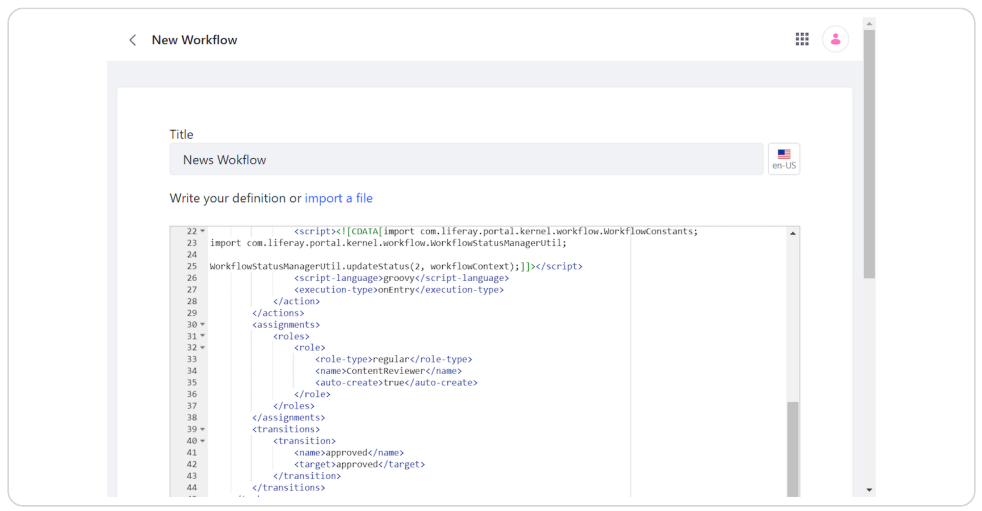
- Click on source and copy the XML code.
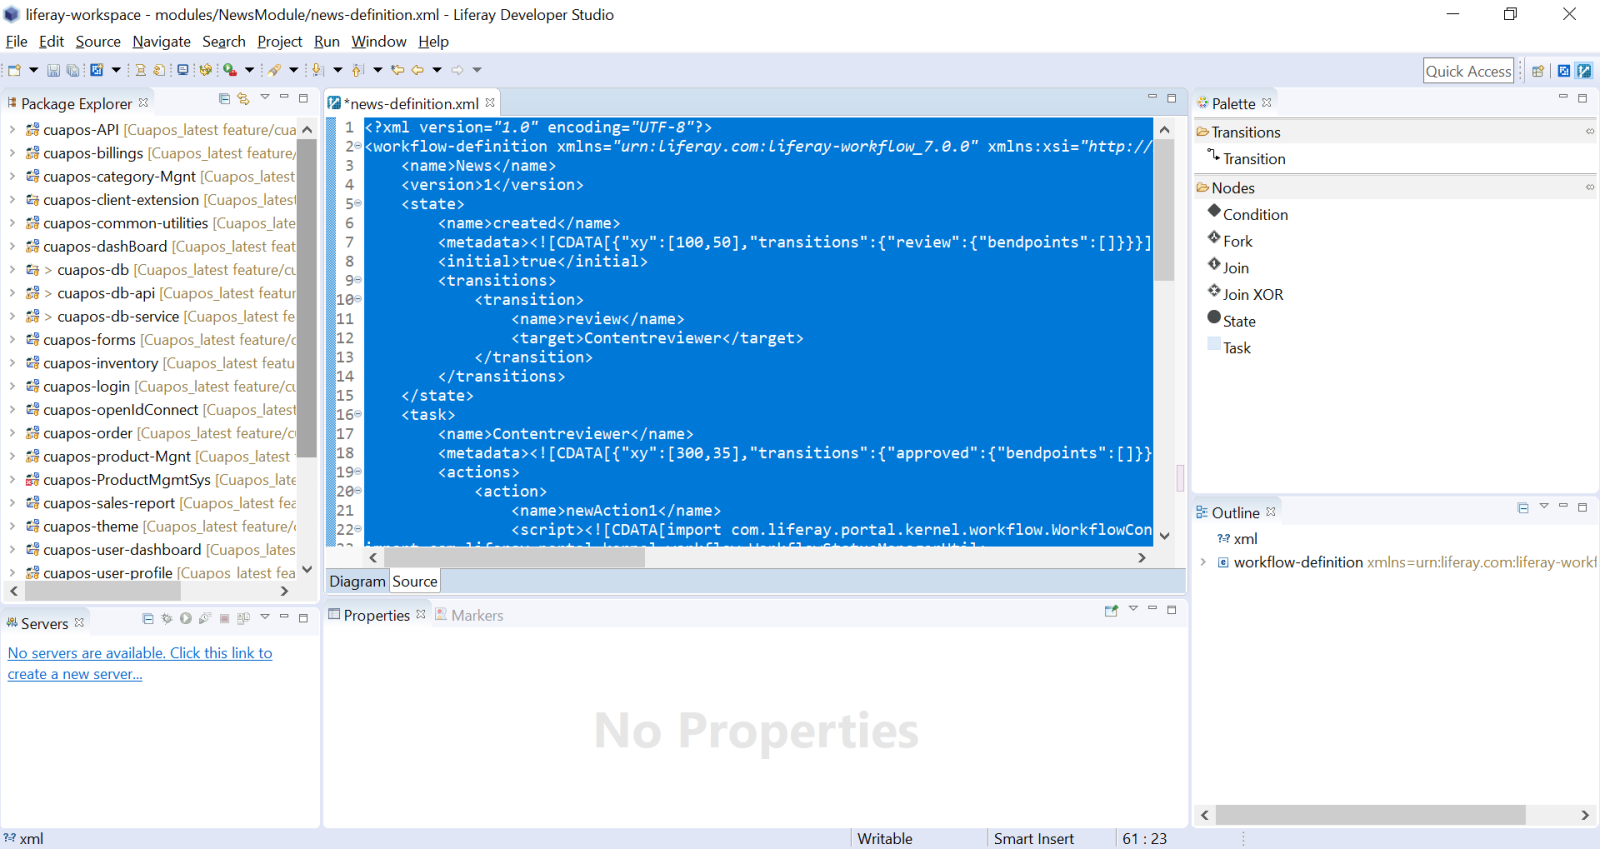
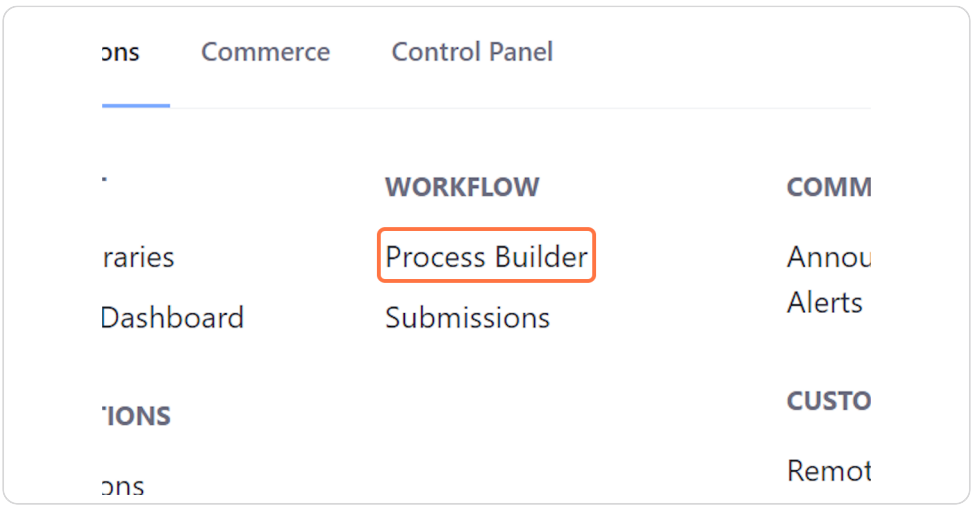
- In your portal, open control panel->Workflow->Process Builder And click on add workflow then Add paste your copied XML code and publish it.
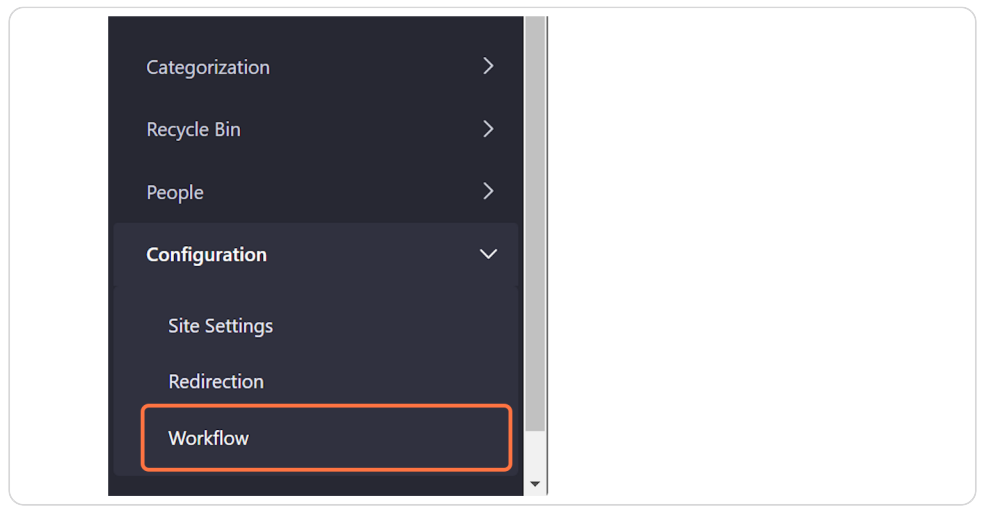
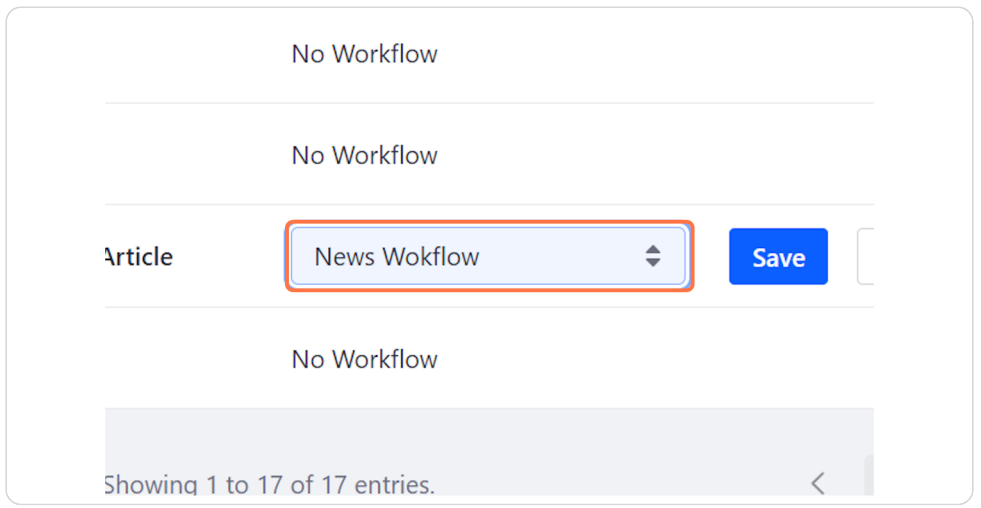
- Click on the left side control panel, Configuration->Workflow->Web Content Article and assign your workflow to it.
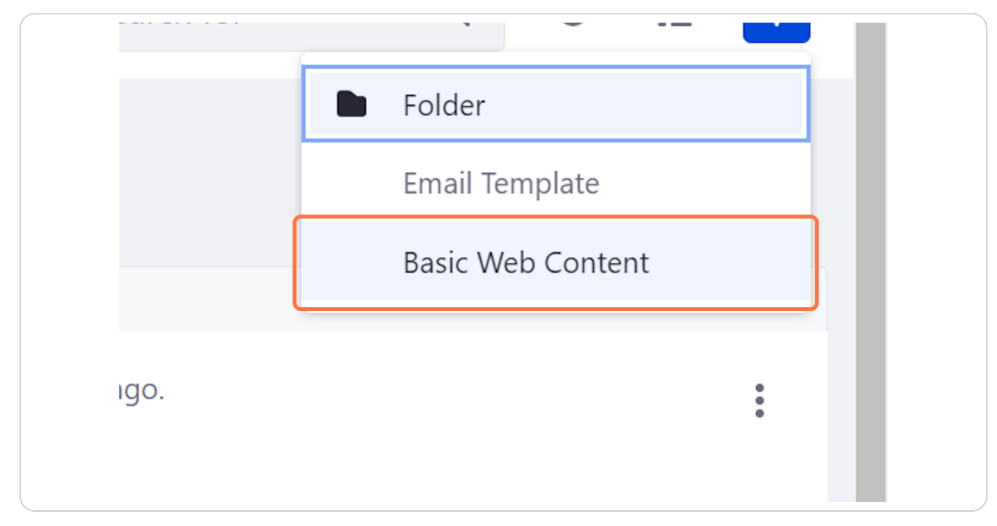
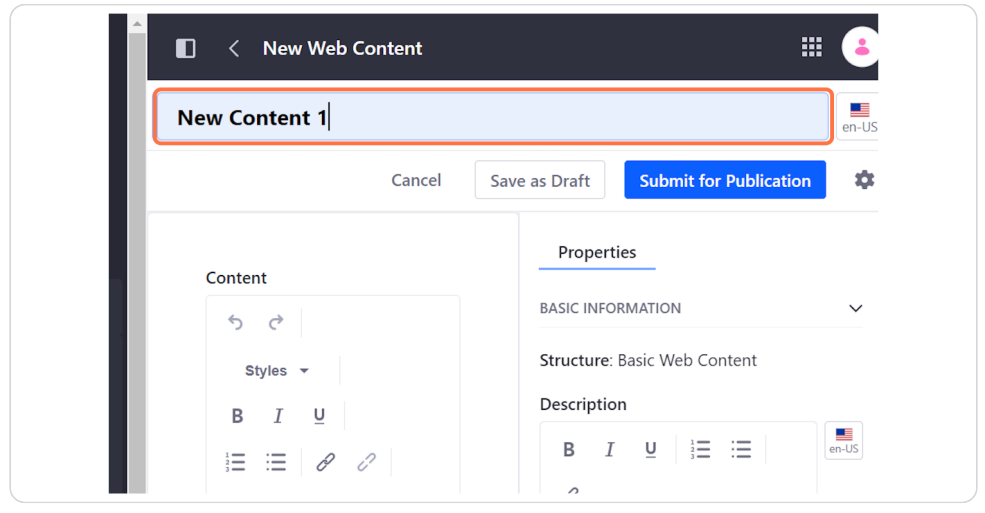
- Create your basic web content and submit for publication.
- Login from a different account, with the user having the same role as mentioned in step 4.
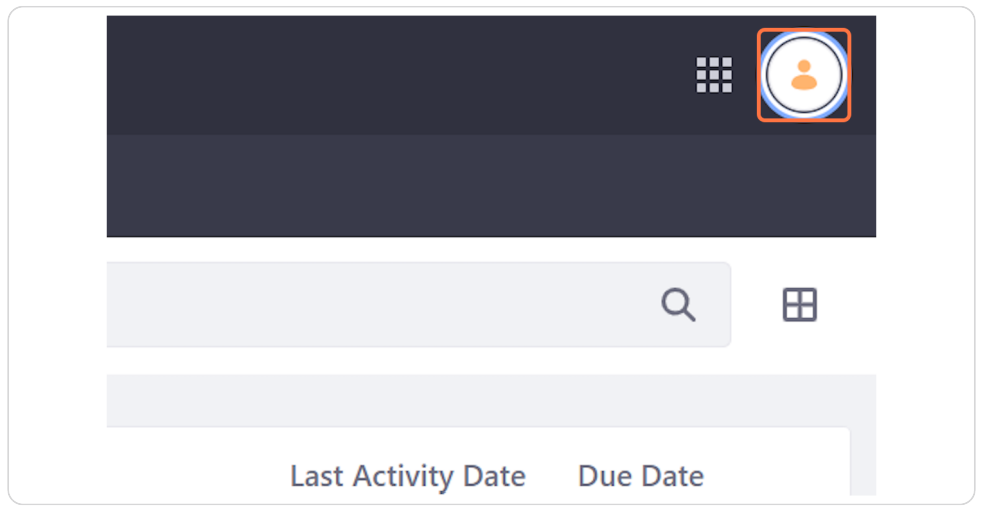
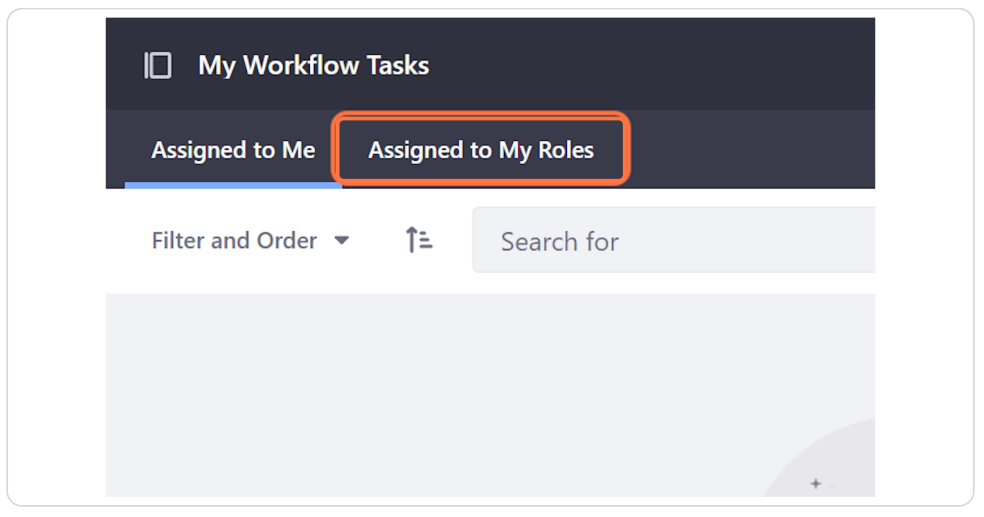
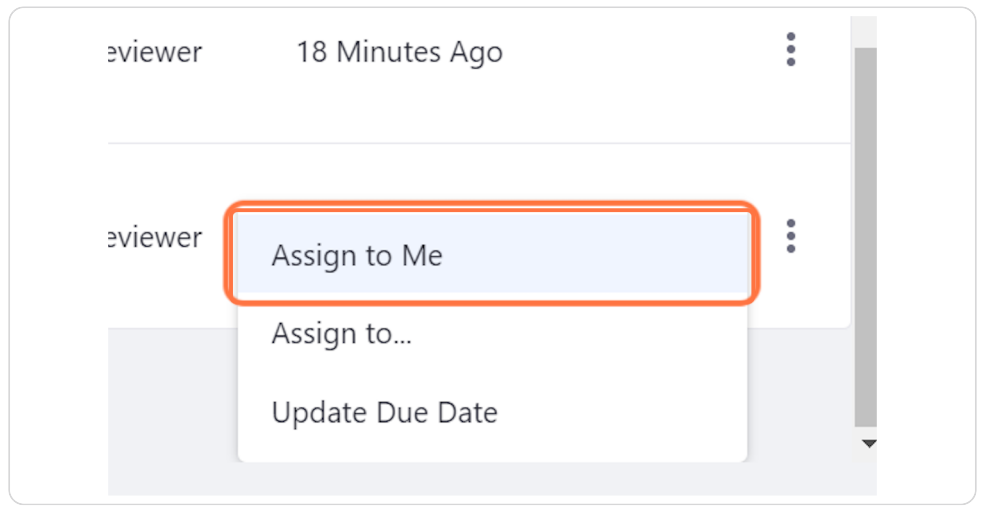
- Click profile -> My workflow tasks->Assigned to my roles. It will display all the tasks assigned to that role.
- Click the task and assign it to yourself [Assign to me], then approve it.
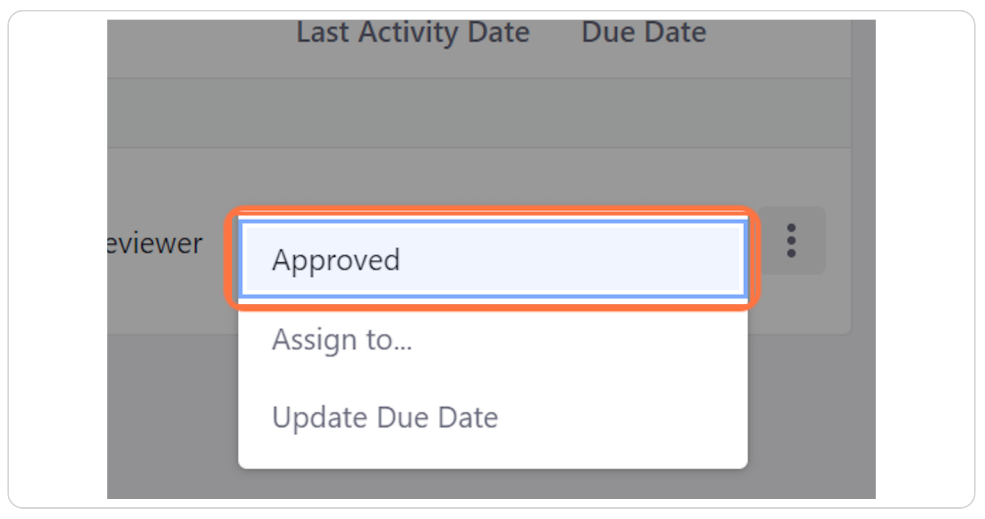
- Finally, the content will be approved and made available for use.

Related Posts:
Workflow integration with your custom-table
Here's a simplified example of how you might programmatically integrate Life...Read More
